

 Bookmark / Share
 RSS Posts
 View my profile
 Photos
| My image for this tutorial example. |
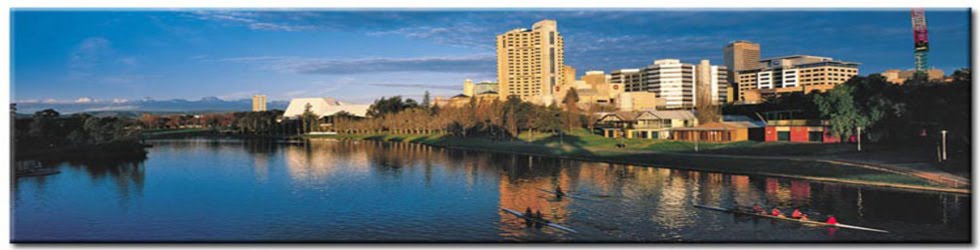 |
| Example 1 |
Looks nice, doesn't it? So, how did I make it look like this? The first thing I done was to add an image without resizing it or aligning it. Then I clicked on the image and then selected the "Add caption" option. I replaced "Add caption" with the text "Example 1" and highlighted my text and selected the bold option for that text. That was just in the "Compose" tab. I then clicked on the "Edit HTML" tab. In the "Edit HTML" tab there is a caption code for where the "Example 1" text is. It looked like this in the beginning:
<tr><td class="tr-caption" style="text-align: center;"><strong>Example 1</strong></td></tr>
I then copied this code and placed it directly above the <tr></tr> code for the image. I then deleted the text "Example 1" and typed in "My image for this tutorial example." I highlighted those words and selected the italic option. Italic and bold options are best done in the "Compose" section - its just less confusing that way and quicker too. This then gave the entire code 3 table rows with the potential to add more code to each row.
Next, in the above captions code example, I added some additional code to the "style" code area. I simply added a background colour, and a font colour to it. I also added a background colour (black which is #000) for the middle row where the image is located. Below is the end result of all the code for my example image (Example 1).
<table align="center" border="0" cellpadding="4" cellspacing="0" class="tr-caption-container" style="margin-left: auto; margin-right: auto; text-align: center;"><tbody>
<tr><td class="tr-caption" style="background: orange; color: black; text-align: center;"><strong><em>My image for this tutorial example.</em></strong></td></tr><tr><td style="background: #000000; text-align: center;"><a href="https://blogger.googleusercontent.com/img/b/R29vZ2xl/AVvXsEhHVnAVBWlHSlpT0dY7JzX4g9BghvV1X3z5kV8RUI4lnsLRUwwLZ8x9J2ins7LKrVlOMIqkv_o_7KXYR-ypB_C1NyeSnWrtdbjJLVwk-ZJ2sZogeqtltPHDVom5vsa-oK9hTi9dnvpjjFs/s1600/70239.jpg" imageanchor="1" style="margin-left: auto; margin-right: auto;"><img border="0" height="256" mda="true" src="https://blogger.googleusercontent.com/img/b/R29vZ2xl/AVvXsEhHVnAVBWlHSlpT0dY7JzX4g9BghvV1X3z5kV8RUI4lnsLRUwwLZ8x9J2ins7LKrVlOMIqkv_o_7KXYR-ypB_C1NyeSnWrtdbjJLVwk-ZJ2sZogeqtltPHDVom5vsa-oK9hTi9dnvpjjFs/s1600/70239.jpg" width="320" /></a></td></tr>
<tr><td class="tr-caption" style="background: #000; color: white; text-align: center;"><strong>Example 1</strong></td></tr>
</tbody></table>
As the image's background was not visible I added the number "4" to the entire table's cellpadding. That then displayed the black background behind the image.
Everything in bold red is what I added or changed to the above code after the basic first image caption had been added. All these changes were done in the "Edit HTML section" except for the bold and italic options that were added to the captions text. They were done in the compose section.
And there we have it. By simply adding a second caption row above the image and adding a bit of additional code to the "style" area and some table padding, we get a nice looking, almost gallery stylized looking image effect.


 twitter
 facebook
0 comments:
Of course, you can add various combinations of the above to your comment as long as you place the ending tags in the right locations.
Features:
To add a marquee text type in [ma]Add your text here[/ma]
Of course, you can add various combinations of the above to your comment as long as you place the ending tags in the right locations.
[video=ADD-ENTIRE-VIDEO-URL-THAT-YOU-VIEW-ON-THE-WATCH-PAGE-ON-YOUTUBE-HERE]
[video=ADD-ENTIRE-VIDEO-URL-THAT-YOU-VIEW-ON-THE-watch?feature=player_detailpage-HERE]